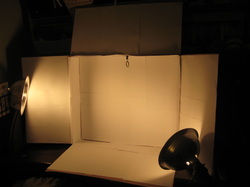
I've been reading some articles about taking better pictures. I just don't think it is helping me much because I'm clueless about how this works. I tried some free online photo editing tools to try to adjust the pictures, but I just can't seem to get it. The photos never come out quite like I want them to. I just want a plain white background with the pictures popping out of the screen. I've made so many adjustments I just want to scream, because it still doesn't look the way I want it to.
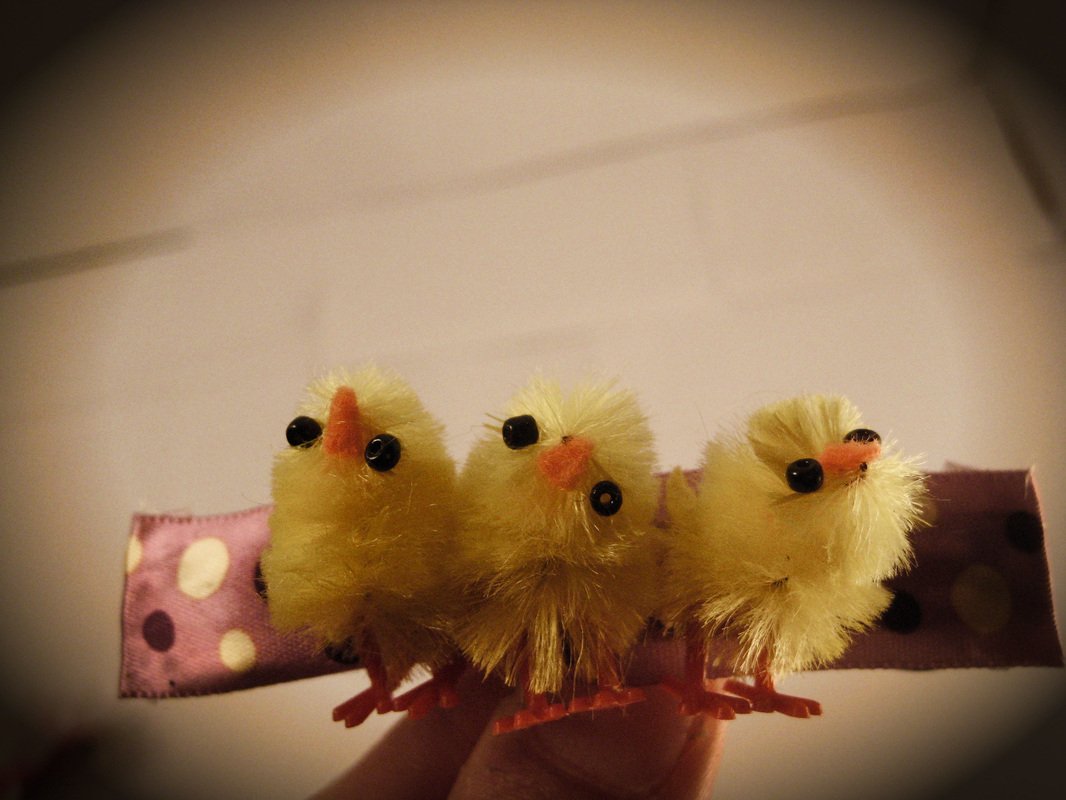
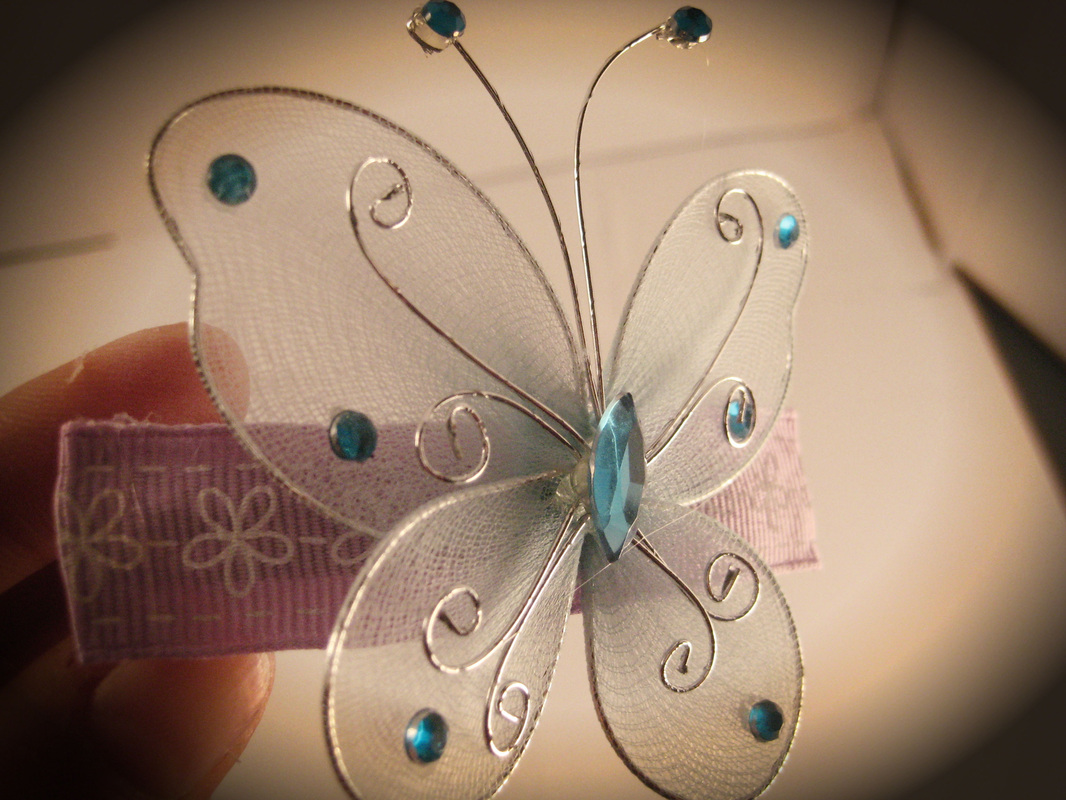
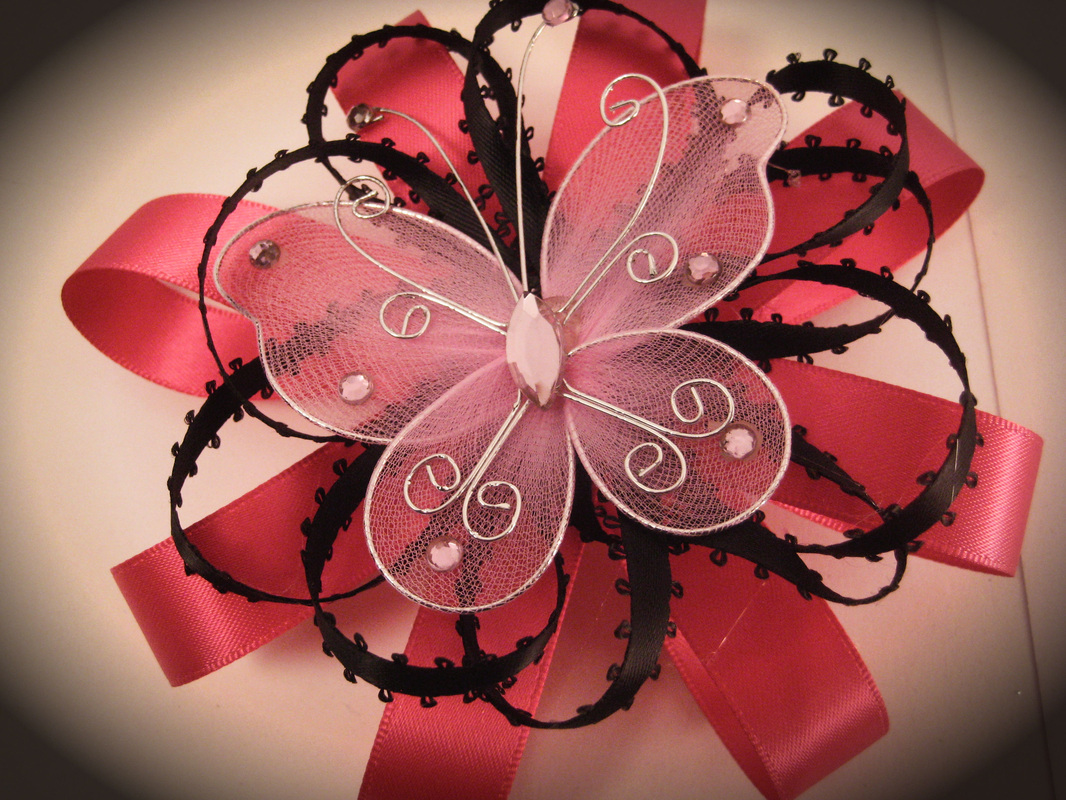
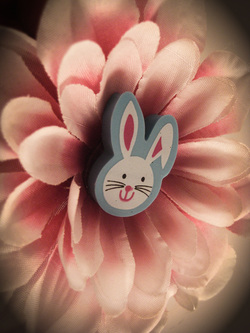
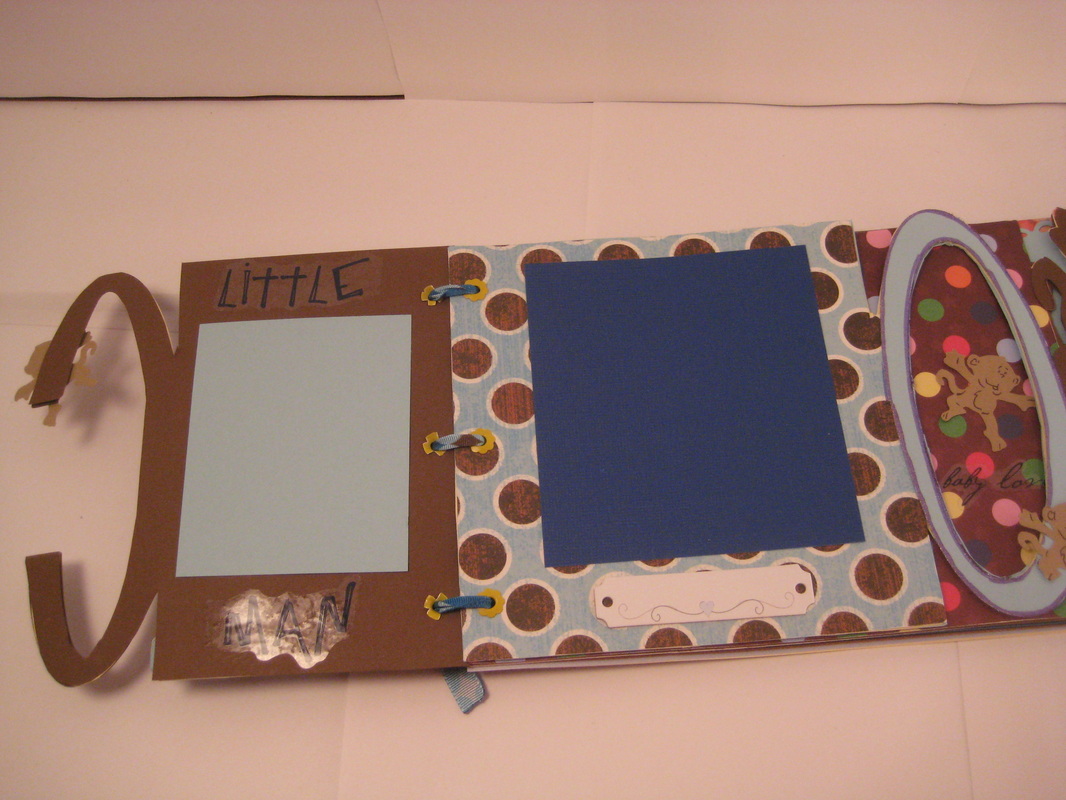
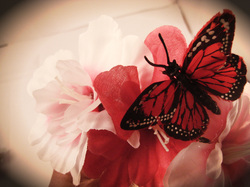
I'm trying this new vinette filter to focus the eye on the subject, but it just seems like it is making the photo darker not bringhter. If I ever figure it out, I let you know. In the meantime, you can have a peek at some of the hairclips that I've been making. Have a great week.
I'm trying this new vinette filter to focus the eye on the subject, but it just seems like it is making the photo darker not bringhter. If I ever figure it out, I let you know. In the meantime, you can have a peek at some of the hairclips that I've been making. Have a great week.